Growing fishing worms is the best way to ensure you have access to quality worms throughout the year. Growing fishing worms is easy. You need a proper bin to hold them in, the correct substrate for them to live within, and beneficial food. If done correctly, growing worms for fishing can be low maintenance and provide the best worms you’ve ever fished with.
The Best Types of Fishing Worms to Grow
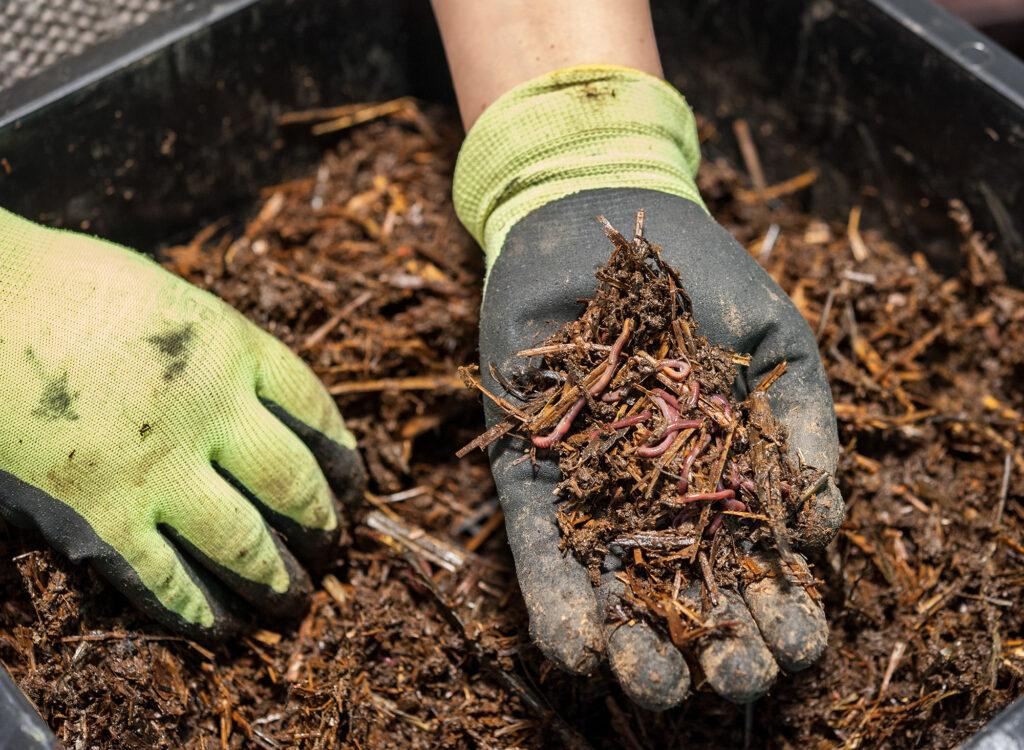
The two best worms for growing are nightcrawlers and red worms. Fish love to eat both worms, and they are easy to grow. Both belong to the class Oligochaeta, and each has its own set of advantages for growing for fishing bait.
Nightcrawlers – Lumbricus terrestris (Canadian Nightcrawlers)
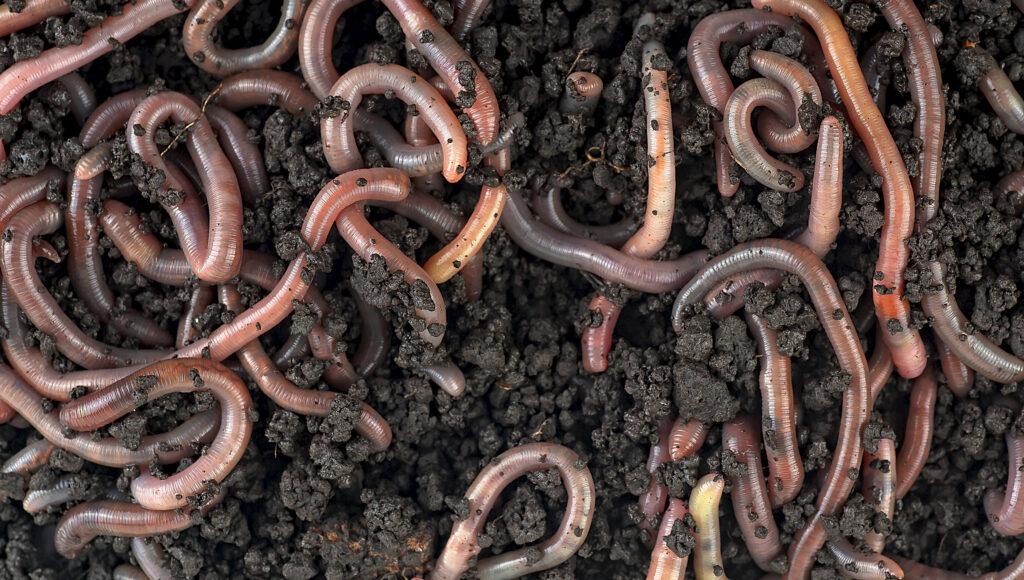
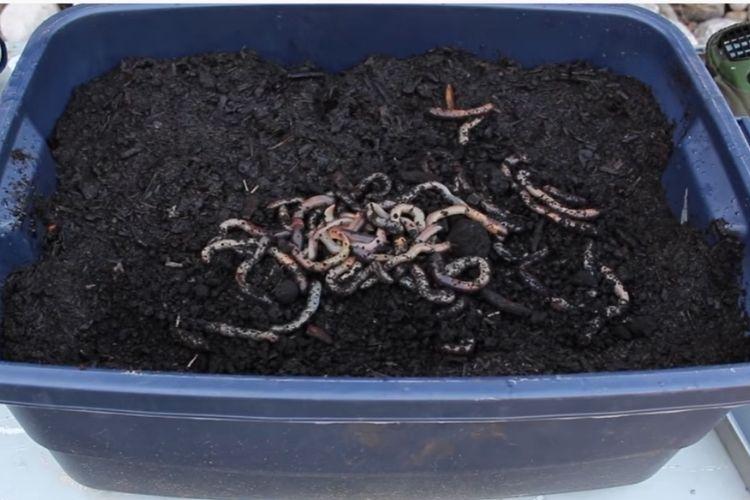
Nightcrawlers, also known as dew worms, are large worms that can often be found on top of the soil after heavy rain. They feed above the soil line during the night (hence their name). Like all worms, nightcrawlers burrow into the soil during the day.
They are a great worm to grow for fishing as they are large and durable. When placed on the hook, nightcrawlers continue to wiggle and attract fish. These are one of the best available and are highlighted in our article, The Ultimate Guide to the Best Catfish Bait.
Red Worms – Eisenia fetida (Compost Worms)
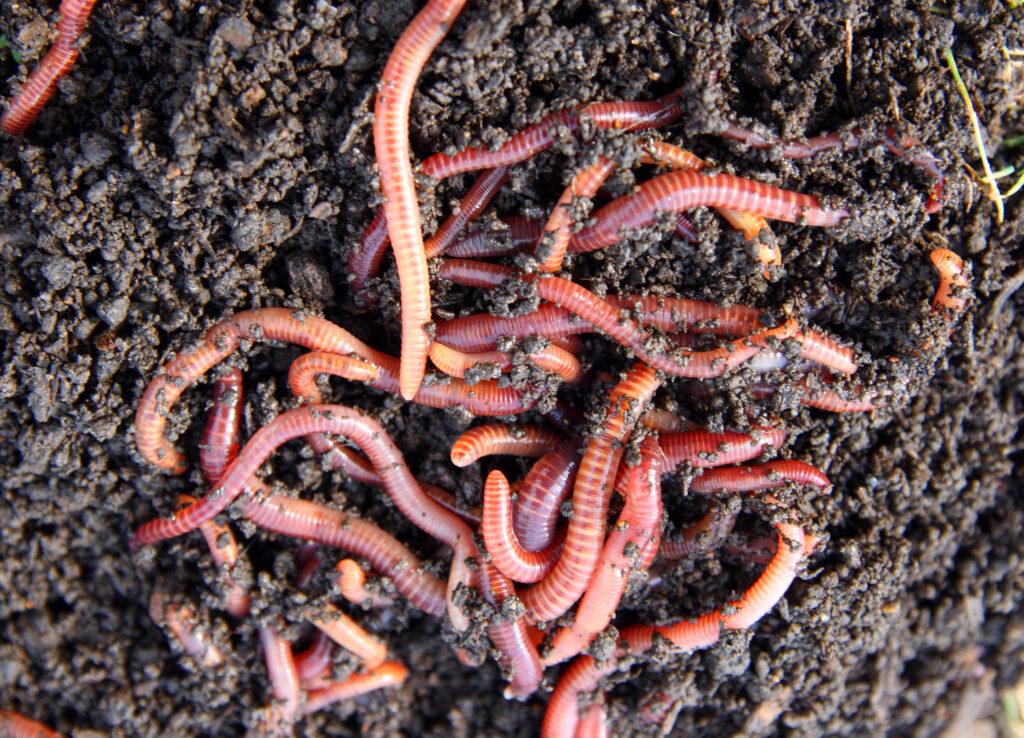
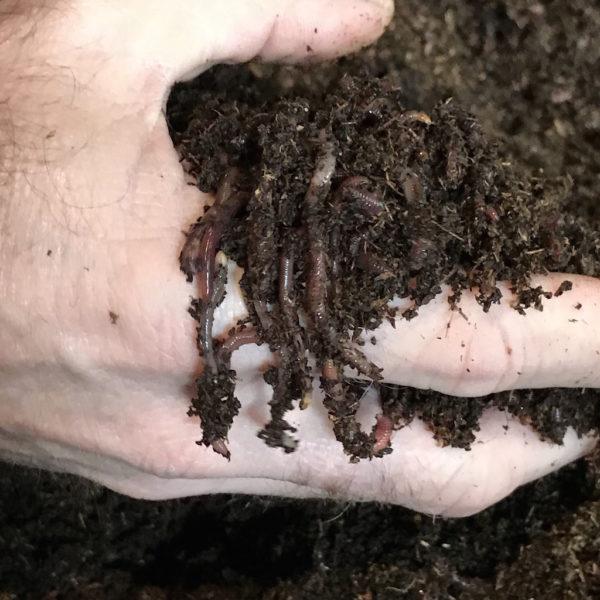
Red worms, also known as red wrigglers, are used for vermiculture and grown for fishing bait. Their ability to break down compost into worm castings makes them perfect for gardeners interested in quality soil production.
These worms are great for growing for fishing bait because they reproduce rapidly (up to five times faster than nightcrawlers). Red worms work great as bait for jug fishing. They are lively and stay fresh. For more information on jug fishing, check out our article What is Jug Fishing?
Where to Buy Starter Colonies
Uncle Jim’s Worm Farm

Uncle Jim’s Worm Farm specializes in red wigglers. They’ve been in business for over 40 years and have a good reputation for starter colonies. They also offer nightcrawlers that are of the highest quality.
Making an Affordable Worm Bin
Growing worms for fishing is best done in a worm bin. Professionals use outside bins, usually made of plywood and other porous material propped off the ground. Fishermen who want to grow worms for fishing are best suited to using a worm bin that is portable and affordable.
What is the Best Worm Bin?
The main two options for worm bins are plastic containers and DIY wooden containers. Fishermen usually opt to use plastic containers because they are easier to start and maintain.
Plastic Container (Indoor Bin)
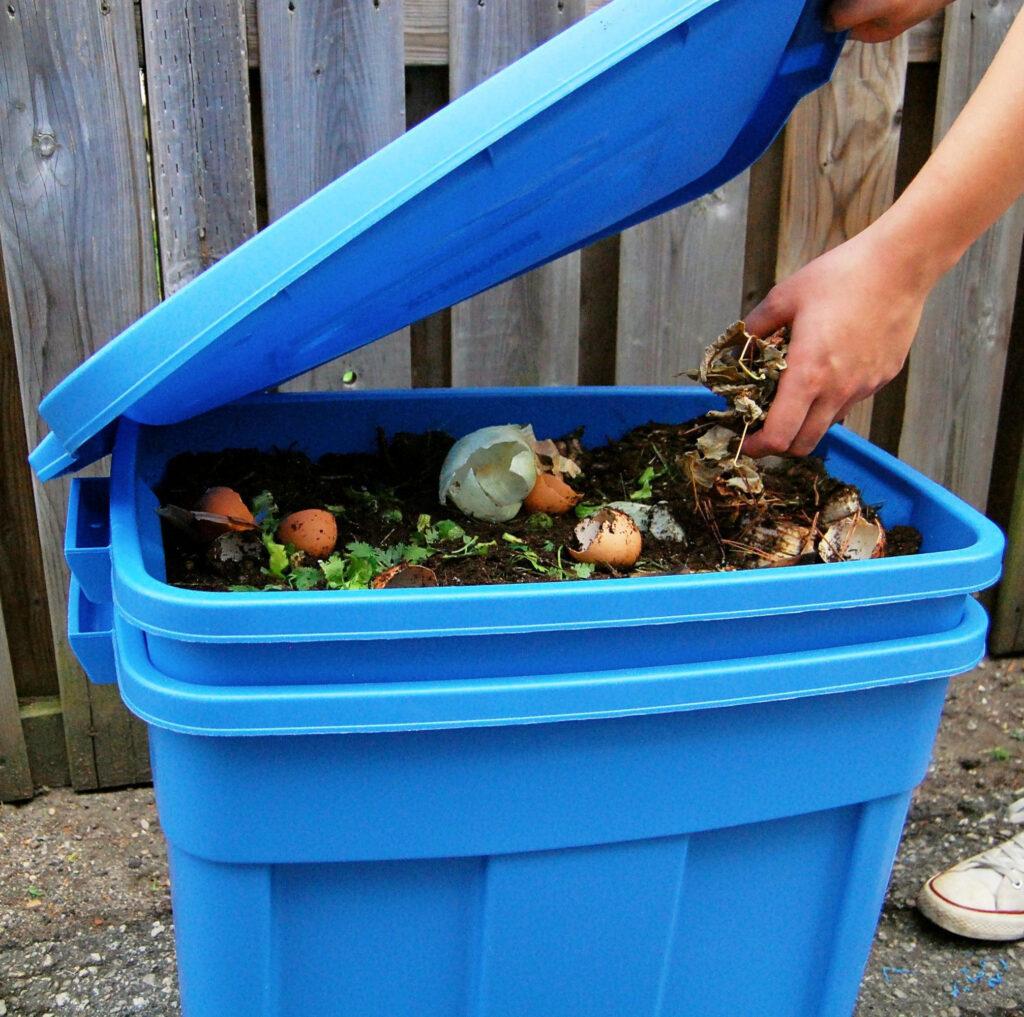
Plastic containers are portable, durable, and able to blend in with most other storage equipment used for fishing.
Overall, plastic containers are the most affordable worm bin option. There are countless sizes and shapes, but the best size for a worm-growing bin is at least 3 gallons. This gives you enough space for the correct growing medium. Once the worms begin breeding, the extra room becomes even more important.
Wooden Container (Outdoor Bin)

Professional worm growers use wood containers. They are propped off the ground with concrete blocks and placed in a shady location.
The dimensions of these containers vary depending on the goal of the grower. Of course, the larger the worm growing bin, the more potential it has to yield many worms. The downside to larger worm bins is that they are more expensive and require more substrate material to begin.
One of the disadvantages of outside worm bins is predators. If the bin isn’t secured with a secured top and bottom, animals such as possums will come into the bin and eat the worms.
How to Prepare the Worm Bin?
Before purchasing a starter colony of nightcrawlers or red worms, the growing bin must be prepped. This section includes the substrate and other important considerations for growing worms for fishing bait. Worms have unique living requirements. These worm bin specifics will increase their health and breeding potential.
The Best Bedding Materials for Growing Fishing Worms
When choosing a bedding material for worms, it’s important to remember a worm’s physiology. Worms breathe through their skin. They do not have lungs. Therefore, you need moisture in the worm bin, but not too much. If too much water is in the bin, the worms can die.
Most people think this is from drowning, which is incorrect. If too much water is in the worm bin, the worms will die from carbonic acid that builds up on their skin. They breathe through their skin (oxygen) and expel CO2. If too much water is in the water bin, the CO2 released from the worm’s breathing creates an acidic environment that eventually kills them. Worms are very intolerant to acid.
Leaf Litter
This natural resource is easily attained in areas with a lot of trees. Leaf litter is the protective layer of a forest’s undergrowth and comprises twigs, leaves, and other debris decomposing on the forest floor.
Shredded Newspaper
Newspaper strips help to layer the different substrate components of the worm bin. If possible, do not use colored newspaper, The chemicals used in colored ink has the ability to change the PH of the bedding material, which can harm the worms.
Aged Manure
Manure is the ultimate worm-growing substrate, but it must be aged. If not aged, the manure will undergo a “heat phase” where it becomes extremely hot as it decomposes. If this happens, it will likely kill all of the worms in the growing bin. Because of this, make sure to use aged manure.
Also, aged manure has a distinct smell that isn’t suitable for most portable worm-growing bins. Aged manure is more appropriate for outside plywood bins.
Aged Compost
This compost can consist of house scraps that have been decomposing outside for a while. Make sure it is aged compost otherwise, it will heat up to dangerous levels due to decomposition.
Coco Coir
This material consists of the outside layer of a coconut that has been shredded into fine particles. Rinse the coco coir before using it for the worm bin. Once wet, squeeze the coco coir in your hands until all the water is gone.
Straw/Hay
This works great to help keep air pockets throughout the growing bin. Ensure the straw or hay you use for your worm bin has not been treated with chemicals.
Brown Cardboard
Worms love breeding underneath cardboard when placed on top of the other bedding materials.
DIY Plastic Worm Bin for Fishing
Once you have your bedding material and starter colony of worms, it’s time to begin your worm farm. Follow these steps, and you’ll be able to start harvesting worms for fishing bait every few weeks with minimal effort.
Step #1 – Drilling Holes
Worm bins need holes for airflow and drainage. Without seepage holes, the bedding material will become anaerobic and become a host to unhealthy bacteria. Drilling holes at the correct locations enables the bedding material to stay moist and healthy.
For plastic bins being stored inside, drill 1/2″ holes across the bottom of the bin at 6″ intervals. Make sure to have something below it to catch the water drip. Also, drill a few 1/2″ holes on the container’s lid for extra ventilation.
Step #2 – Assembling the Bedding Material
Once you’ve drilled holes, it’s time to begin putting the bedding material in the worm bin. Alternate materials as you put them in. For instance, first put a thin layer of shredded newspaper followed by a layer of aged compost. Continue alternating the different bedding materials until you have filled the plastic worm bin, leaving 5″ of open area to the top.
Step #3 – Wetting the Bedding Material
Wet each layer of bedding material as you put them in. Do not soak them. Spray them enough to get them moist, but no more.
Step #4 – Introducing Worms
The best way to introduce worms to your DIY worm growing bin is to place them on top of the bedding material. Do this gently, and once complete, put the lid on the container.
Maintaining the Worm Bin
Work is minimal once you’ve completed the initial setup of a worm bin. But, like most things, worms need food and water. It isn’t a lot of work, but it is important to monitor and take care of a few critical aspects of your worm fishing bait farm. The best part of growing worms for fishing bait is that it’s easy once you’ve done the work.
What do Worms Eat?
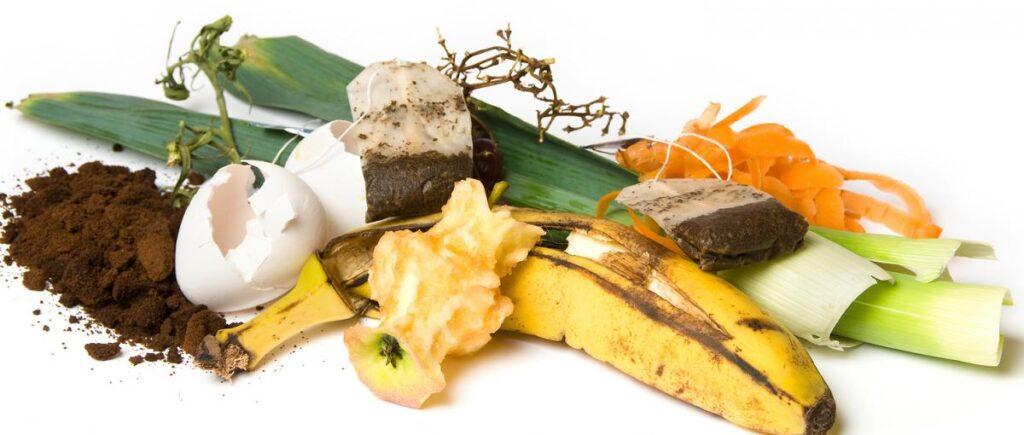
Worms eat organic materials such as fruits, vegetables, coffee grounds, and naturally occurring fungi and bacteria.
How Often Do I Feed the Worms?
It depends on how much you feed them and how many worms are in your colony. To know when to feed your worms, first check to see if the food you gave them previously is gone.
Another good sign that it is time to feed the worms is when they are bunching in the area where they often eat. For instance, if you place food on the left side of the container and you see a lot of worms gathered there, then it’s probably time to feed again.
Make sure not to overfeed worms. It’s important to give them just enough. Also, do not worry if the worms don’t begin eating the food you put in right away. Worms wait for microbial organisms to break down the food before they begin eating.
Foods to Avoid Feeding Worms
Meats, dairy, and citrus should be avoided. These foods change the PH of the bedding material when spoiled. Worms have extremely sensitive skin, and changes in PH can harm or even kill them. Other things to avoid are onions and anything suspected of being in contact with chemicals (such as lawn clippings that have been fertilized).
Watering your Worm Bin
Monitor your worm bin at least every two days. If the top layer of the bedding material is dry, spray down the bin lightly. You can also dig into the bedding material with your hand and overturn it to further inspect the moisture levels of the worm bin. The goal is to have a moist growing environment for the worms. This encourages feeding and eventual breeding.
The Benefits of Growing Worms
Growing fish worms provides a consistent source of quality worms and soil.
Homegrown Fishing Worms
Having a source of quality fishing worms at home has many benefits for fishermen. It saves money and time and guarantees you the ability to have worms for your next fishing trip. Instead of relying on convenience stores or bait shops, fishermen who grow their worms can rely on themselves. Once fishing worms are produced, fishermen often have a surplus of worms for fishing bait.
Worms are one of the easiest and best fishing baits. They do not smell. They stay fresh if kept cool while fishing. And they move and wiggle while in the water. Other fishing baits, such as catfish stink bait, attract fish but can smell bad and be difficult to manage. Homegrown worms meant for fishing are great once you’ve established a colony.
Premium Dirt – Vermiculture
A great secondary benefit to growing worms for fishing bait is the amazing soil produced as a byproduct. Over time the worms will eat all the food in their bin and leave behind the best garden dirt available. Many gardeners grow nightcrawlers and red worms for this reason alone.
Other Tips for Growing Worms
- A worm’s body is similar to the inside of a human’s mouth. That is why they are very sensitive to PH fluctuations in their environment.
- Every worm is both male and female. When they mate, they exchange eggs and sperm, which mix into mucus. It looks like a golden orb which is a worm cocoon. Nightcrawlers may have a few worms for each cocoon.
- Worms can double their population every 2-3 months
- Worms do not like light. They prefer to be underground. UV rays can kill them, and warmth can dry them out and eventually kill them.
- The consistency of the bedding material should eventually be like a moist cake (after they have eaten, digested, and expelled the organic material)
- Worms often live in the top six inches of substrate
- Do not just put regular dirt in your worm bin. Dirt often contains clay and other inert materials that are not useful for growing and breeding worms.
- Aged horse manure works well for a worm-growing substrate. Do not use fresh manure as it will go through a “heat phase,” which is part of its natural decomposition. This will kill worms because the bin will get too hot.
- Adult worms can be identified by a distinct band on across the mid-section of their body.